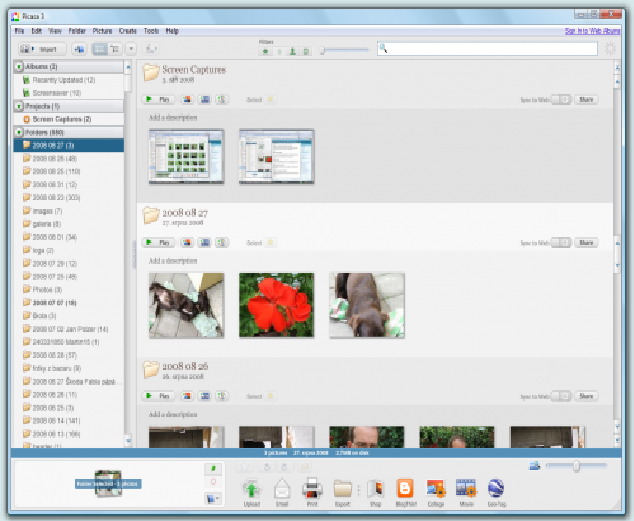
Create collage using Picasa 3
ISSUE- Create collage using Picasa 3
RESOLUTION/ WORKAROUND-
- Free Download Picasa
3 and install it.
- Open Picasa 3.
Picasa 3 will automatically detect all images on your PC/computer and
create a library.From the library, Choose the photos that you want to
create as a photo collage. (Note that you can even deselect certain photos
later, while editing the collage).
- Click Collage at
the bottom ribbon to start creating photo collage
- On clicking
collage, you will be automatically taken to a Settings tab (on the left), where you can customize the looks
of your photo collage (displayed on the right).
- You can choose
to arrange the photos either as a picture pile or as a mosaic or frame
mosaic or grid or as contact sheet or as multiple exposure.
- If you choose a
picture pile setting for your photo collage, you can specify a collage
frame (picture border), background color, page format and even draw
shadows to all pictures in the photo collage
- If you choose a
mosaic or frame moasic or grid display for your photo collage, you can
specify grid spacing between photos and a background color
- You can even
select an image and remove it from the photo collage. Or you can even
shuffle the pictures or scramble the photos on your photo collage.
- You can even
select a picture from the photo collage and and apply a specific border or
background.In my example (photo collage at the bottom), I have applied the
“Instant camera” border for one picture alone.
- Click create
Collage to create the photo collage.
- After creating
the collage you can edit it to do some basic fixes like cropping, repairing
red eye flaws, adjusting contrast etc.
- You can also
edit the photo collage to tune it for light, shadows, color temperature
etc.
- Finally you can
also edit the photo collage to give some special effects like Focal
B&W (Black and white), glow, tint etc.
That all folks!!!


Comments
Post a Comment